User guide
Your first playlist
Install the app
On macOS, open the installation disk and drag YotoMediaManager into Applications. On Windows, run the installer and follow its steps. Then open the app from Applications or the Start menu.
Development builds may be named YotoMediaManager Dev. A signed development build may still be awaiting notarization. If macOS prevents it from opening, check where the file came from and see troubleshooting.
Add your first audio file
- Open
Médiathèqueand chooseAjouter un fichier audio. - Select an audio file, such as an MP3.
- Open
Importsto follow its analysis. Once complete, the media appears inMédiathèque. - Choose
Écouteron that media. - To remove an introduction or credits, choose
Découper l’audio, adjust the two boundaries, and chooseAppliquer.
The original is preserved. The prepared version is available alongside it.
Build the playlist
- Connect your account in
Compte. Your Yoto playlists load automatically. - Open
Playlists, choose an existing playlist, or enter a title and chooseCréer une playlist. - Choose
Ajouter des médias, check the audio files and versions you want, and chooseAjouter. - Follow the upload. The tracks appear after Yoto confirms the update.
- Rename chapters and choose their illustrations. Changes are sent directly to Yoto.
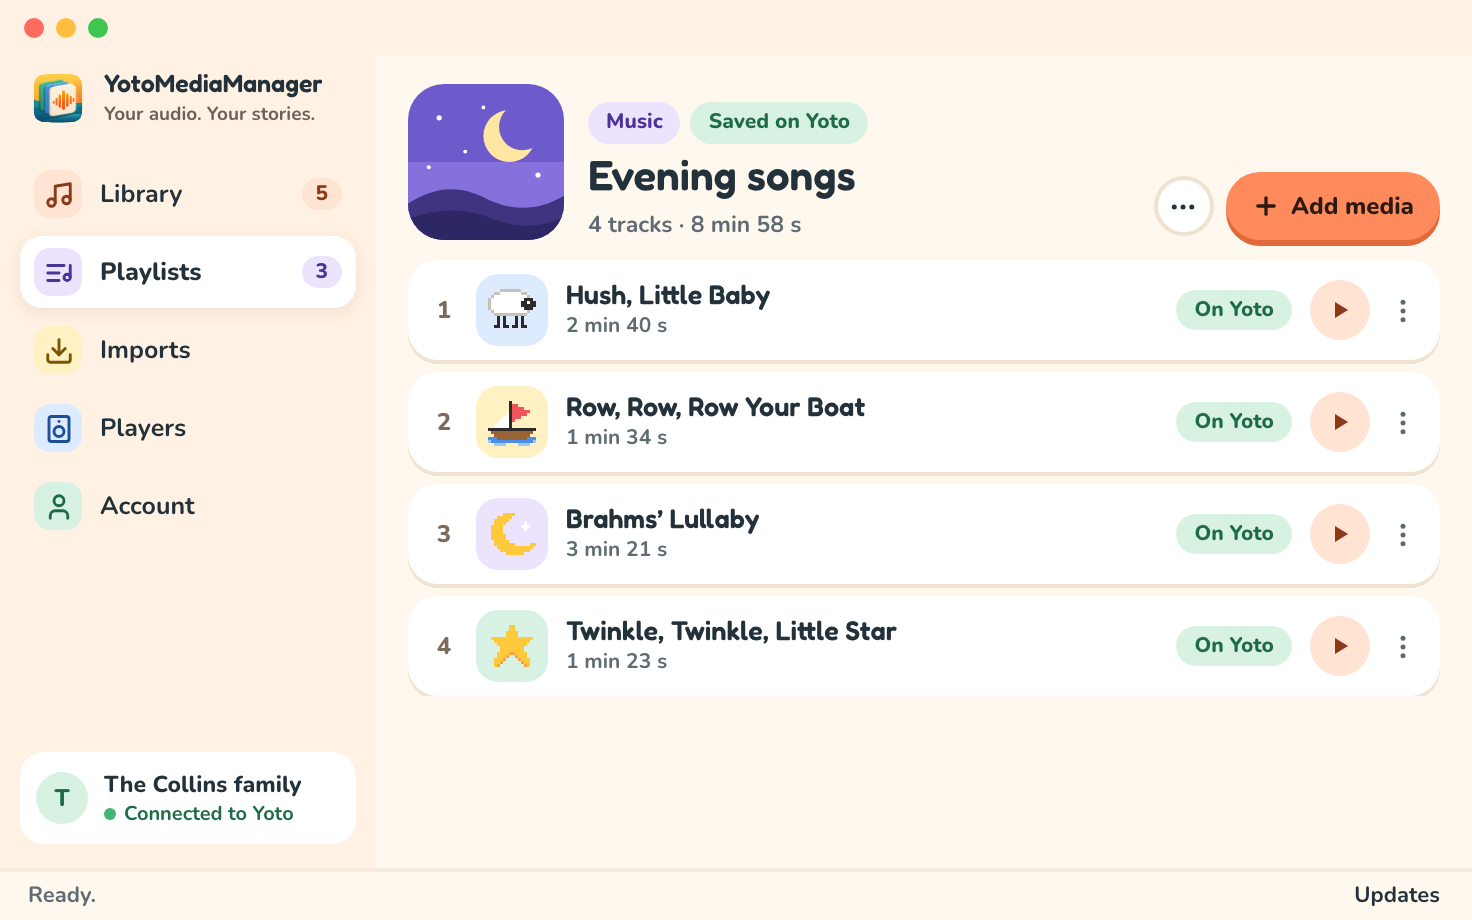
You can import and prepare audio without a Yoto account. Creating and editing playlists requires a connected account.
Listen on your player
In Lecteurs, refresh your devices, select your player, and start the playlist. The account and sync guide explains upload states and possible conflicts.